User-first intro
If you’re running a small lab or trying to nail same-day crowns at the clinic, this one’s for you — clear steps, no fluff. Start by matching the tool to the task: your scanner, CAD, and that dental resin 3d printer all shape what you can deliver and how fast you can hand a finished restoration to the dentist. Think about turnaround, repeatability and who actually touches the piece at each step — that’s where mistakes creep in.
What matters to you right away
You want predictable fits and a workflow that doesn’t crash on the busiest day. Prioritise: consistent scan quality, CAD that’s easy to edit, printing or milling that reproduces detail, and straightforward post-processing. If one station creates more reworks than the others, the whole chain slows down. Choose tools that make the common fixes quick: margin tweaks, occlusal adjustments, and shade matching.
Key tools laid out by role
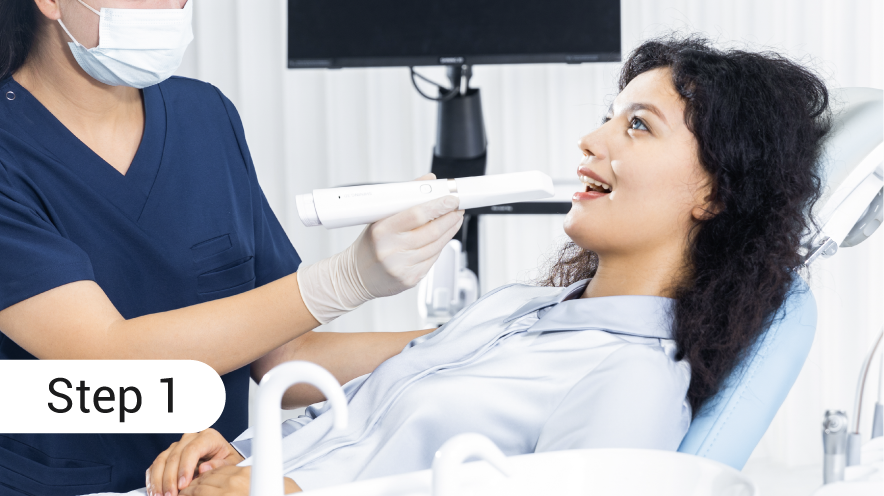
Scanner: pick one that handles edentulous areas and implants without you having to juggle seven scans. CAD software: go for intuitive libraries and simple nesting for multi-unit cases. Printers: resin printers for models and temporaries, mills for full-contour zirconia. Post-processing: consistent curing and gentle support removal are non-negotiable. The person operating each piece should own the outcomes — name the owner of each handoff so nothing slips.
Handoffs you’ll run into and how to tighten them
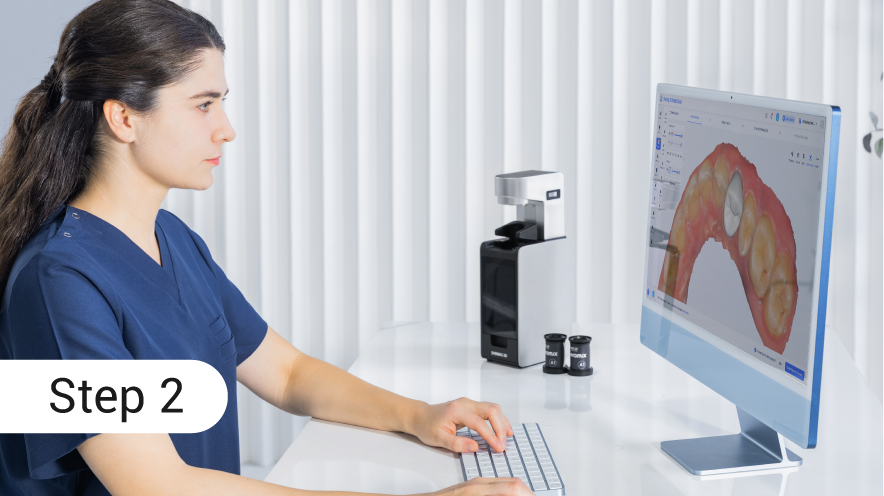
Scanning to design: ensure scans include soft-tissue landmarks; if not, flag it and re-scan right away. Design to print/mill: export formats and orientation matter — share a preset to avoid guesses. Print/mill to finish: build simple checklists for cleaning, curing, sintering or glazing. Small tweaks — a clear photo of a marginal shoulder, a saved STL with notes — reduce back-and-forth and keep dentists happy.
Common mistakes and quick fixes
Marker-less implant scans, rushed support placement, and under-cured resin are the usual suspects. Fixes: place registration points during scanning, orient parts to reduce critical support contact, and use a calibrated curing oven on a schedule. If you’re reworking more than one in ten jobs, map the failures and fix the station causing them rather than chasing symptoms.
Alternatives and trade-offs
Resin printing gives speed and surface detail for temps and models; milling grants material strength and marginal consistency for final crowns. Hybrid shops keep both. If budget’s tight, invest first in a reliable scanner and CAD — they dictate how little rework lands at your finishing bench. Choose based on what your clients ask for most, not on shiny specs.
Real-world experience that proves the point
Having run workflow pilots and trained techs for over a decade, I’ve seen the value of trial runs: during a week-long trial in a busy Sydney dental lab we tracked rework rates before and after standardising support placement and checklist handoffs — reworks dropped noticeably. We also tested a compact capsule printer for fast temporaries and found predictable layer quality cut finish time by half on routine cases. Those on-the-bench observations help separate marketing claims from tools you can rely on every day.
How to get started without wasting cash
Map one workflow for your most common case and train the team on it until they can do it blindfolded. Keep spares for wear parts, schedule calibration checks, and document a single preferred export and orientation for each material. Measure turnaround and rework weekly for a month; small, frequent checks beat big audits once a year.
Wrap-up: what changes for your practice
Focus on the user — the technician or clinician touching each handoff — and pick tools that reduce the number of decisions at each step. That attention to who does what, and why, is the real efficiency. When you want predictable outcomes backed by practical support and lab-level testing, SHINING 3D DENTAL fits into that logic without adding extra steps to your day.