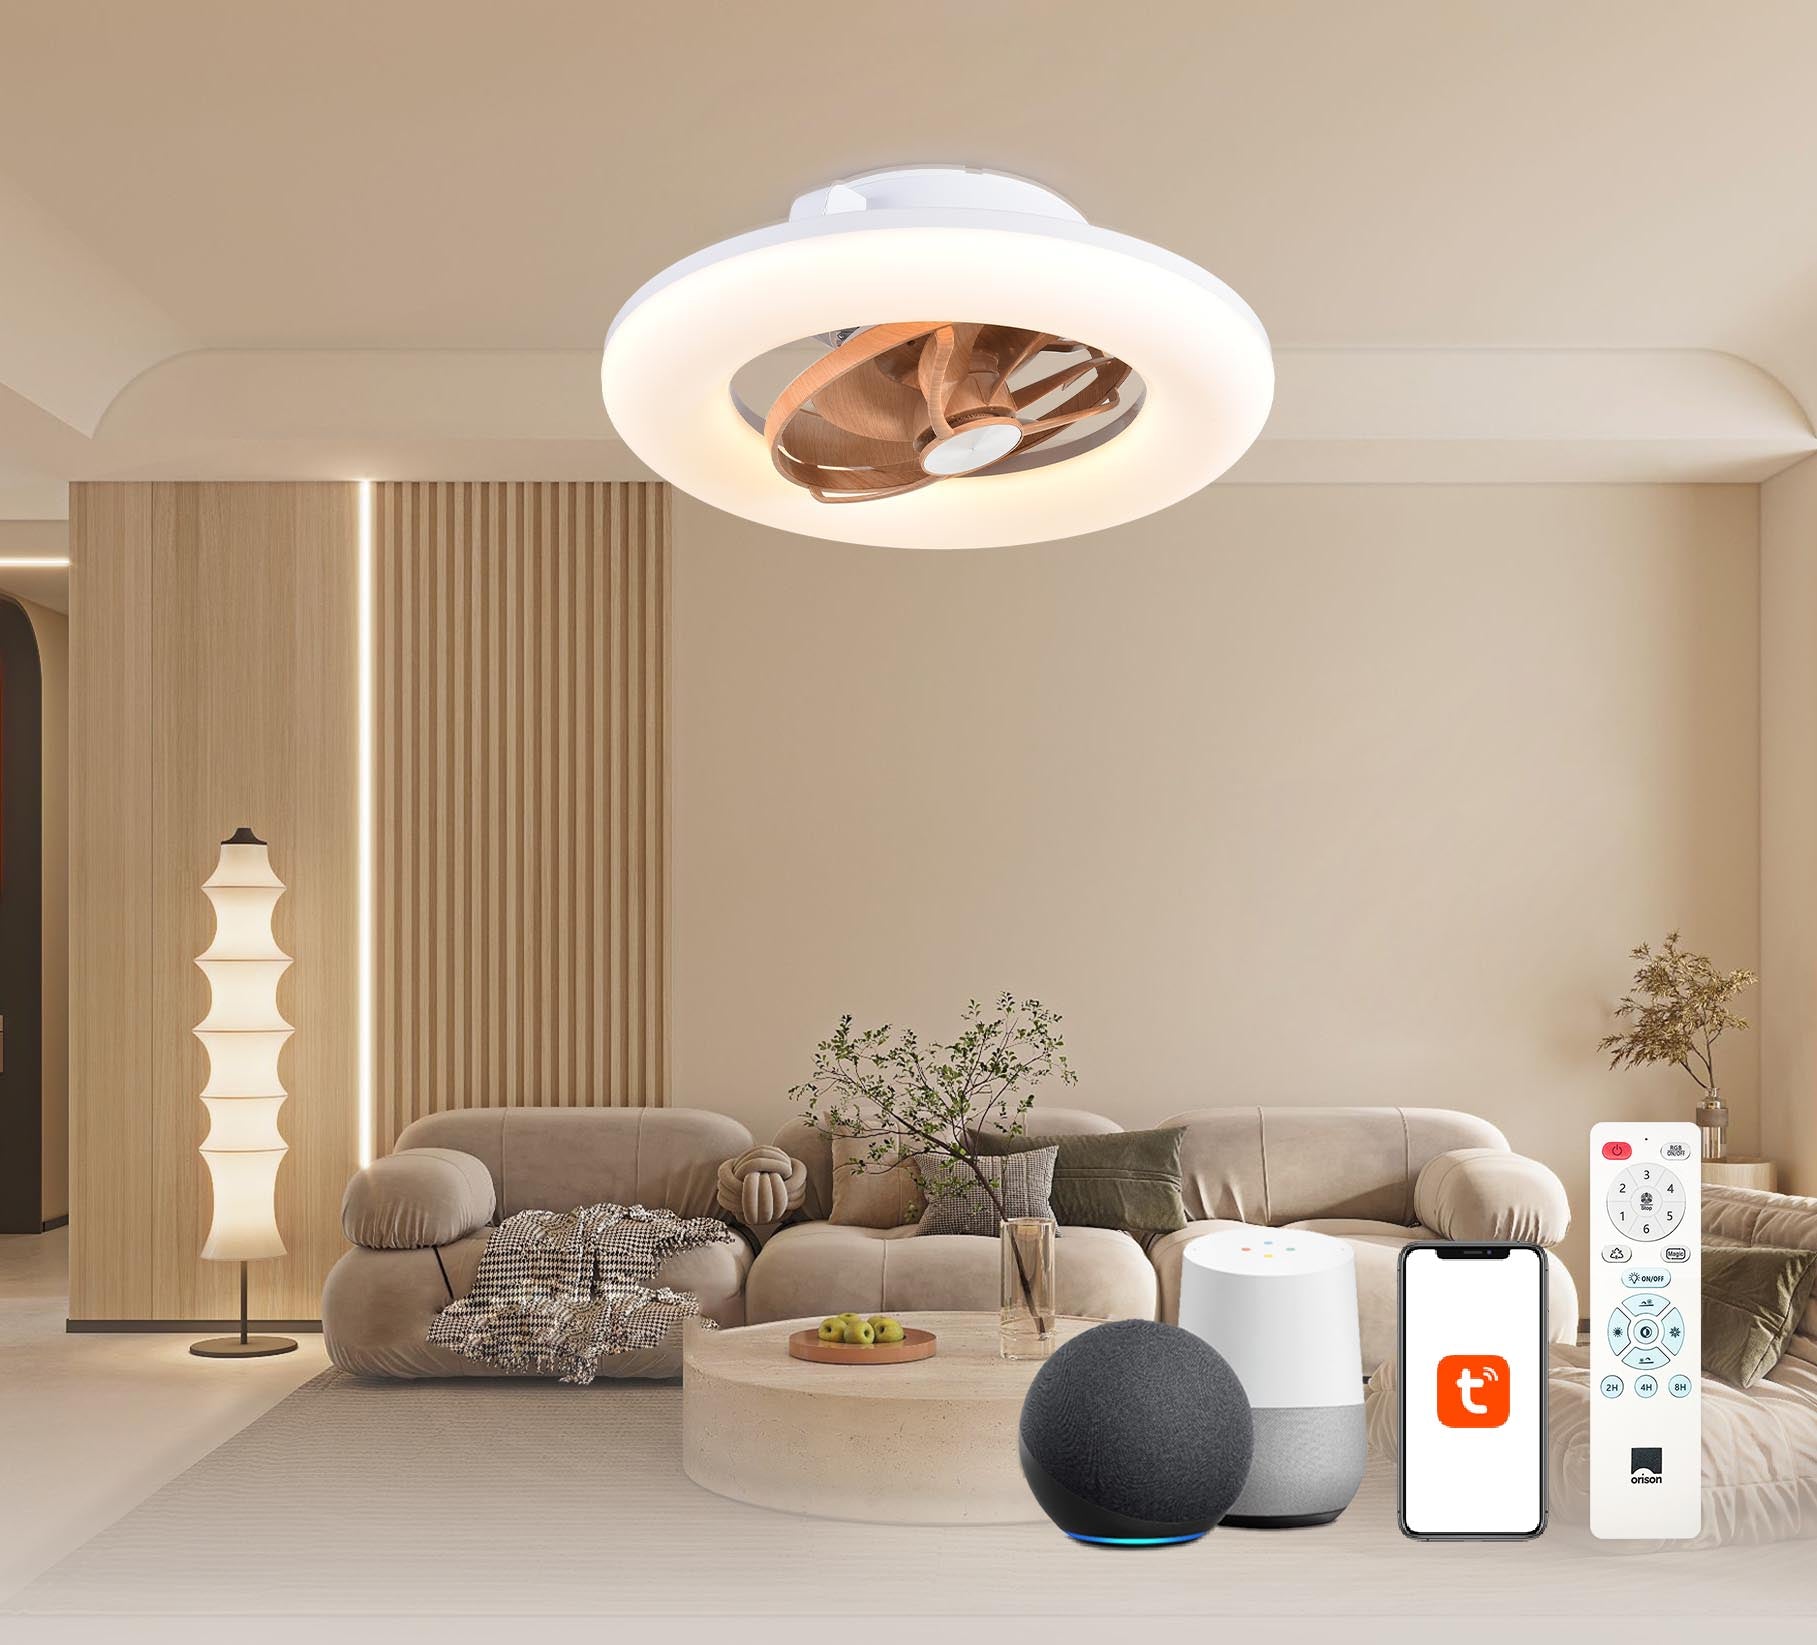
Opening: the problem most homeowners overlook
High-CFM ceiling fans solve comfort and energy issues — but only when installed and paired correctly. Many DIYers and even some contractors underestimate load-bearing needs, electrical compatibility, and wireless pairing quirks that turn a helpful breeze into a noisy, unstable fixture. If you plan to integrate voice control, start by checking device compatibility; for example, a popular choice is an alexa ceiling fan that claims easy setup but still requires a careful approach to wiring, mounting, and hub configuration. The U.S. Department of Energy notes ceiling fans let people feel comfortable at higher thermostat settings — roughly a 4°F change — which is a solid, energy-focused reason to get this right.

Why the problem matters: safety, performance, and cost
Improper installation risks wobble, motor strain, and premature failure. High-CFM fans demand secure motor mounts and properly rated electrical feeds; skipping torque specs or mis-sizing the ceiling box can lead to noisy operation or, worse, a fall hazard. Beyond safety, pairing faults — missed firmware updates, incorrect RF or Wi‑Fi settings, or incompatible smart hubs — leave the fan operating as a dumb fixture and erode the energy savings you expected. Those losses add up in summer cooling bills and customer frustration for landlords and homeowners alike.
Pre-install checklist: the essentials before you climb the ladder
Run these checks before you touch tools: (1) Confirm ceiling box is rated for fan loads (support for at least 50 lb is typical for high-CFM models). (2) Verify line voltage and circuit capacity; dedicated circuits are ideal for high-power motors. (3) Inspect the mounting surface and confirm you have the correct motor bracket and canopy. (4) Check the fan’s damp- or wet-rating if installing in a covered porch or bathroom. And (5) ensure your router or smart hub supports the fan’s protocol — Zigbee, Z-Wave, or Wi‑Fi — to avoid pairing surprises.
Step-by-step: safe mechanical installation
Follow a systematic approach: switch power off at the breaker and test for dead wires; assemble the motor and blades on the ground where possible; attach the motor to the mount using the manufacturer’s torque values; balance blades roughly before powering up. Use the correct downrod length for airflow and clearance — typically 7–9 feet from the floor for living spaces. If the fan includes a light kit, wire the kit per instructions, confirm the ground connection, and secure wire nuts with electrical tape if recommended. Install the canopy so wiring isn’t pinched and the motor is free of strain. If you’re unsure about wiring colors or neutral continuity, pause and consult an electrician — that one call can prevent a house fire.
Pairing with smart assistants: practical pairing flow
Once mechanically sound, pair the fan to your smart ecosystem. Start with firmware: many issues disappear once you update the fan controller. Put the fan into pairing mode per the manual — common triggers are a sequence using the wall remote or a power-cycle routine. Use the manufacturer’s app to complete on-device setup and then link to voice assistants. If you’re using an alexa ceiling fan with light, enable the vendor skill in the Alexa app, discover devices, and assign the fan to a room. Expect to set fan speed presets and light scenes; test voice commands like “Alexa, set fan to medium” and check responses. If discovery fails, try restarting the router, toggling the hub, or using a mobile hotspot temporarily — those steps often resolve local-network handshakes.
Common mistakes and how to avoid them
People frequently mix up a few things: over-tightening blade screws (leads to warping), ignoring blade pitch vs. CFM trade-offs, and assuming any default wall switch will work with smart remotes. Another typical misstep is skipping a balance kit test — even small imbalances magnify at high RPMs. Don’t assume the included remote’s RF range suffices for larger homes; and don’t bypass the ground wire — it’s not optional. Finally, a lot of pairing problems come from congested 2.4 GHz networks; if your fan uses Wi‑Fi, separate guest networks or dedicated SSIDs can help. —
Troubleshooting quick-reference
If you hear hum or detect wobble: re-check blade screws, blade alignment, and blade balance. If the fan won’t pair: confirm firmware, ensure the mobile app shows the device in pairing mode, and check your router’s band and channel. If lights flicker when running the fan: verify neutral continuity and that LED drivers are compatible with dimmers or smart controllers. For persistent electrical anomalies, stop and call a certified electrician — faults that show as intermittent lights or tripped breakers usually mean a wiring or load issue rather than a fan defect.
Code, compliance, and professional help
Follow local electrical code for box ratings, GFCI requirements where applicable, and listed equipment approvals. Many municipalities require an electrician for ceiling-mounted fixtures if you’re modifying circuit wiring or adding a new dedicated line. Hiring a licensed pro is usually worth the fee for complex installs — it reduces liability and ensures compliance with inspection standards. In commercial or multi-family buildings, check HVAC integration and load-sharing on the distribution panel before adding several high-CFM fans to one area.
Summary of practical takeaways
Get the mount and wiring right first, update firmware and apps second, and treat pairing as a network task, not just a device task. Mechanical stability, electrical correctness, and clean network credentials form the trifecta that delivers safe, quiet, energy-saving performance. That’s how you turn a high-CFM unit into a long-term asset rather than a recurring problem.
Three golden rules for selecting and installing smart ceiling fans
1) Prioritize structural and electrical compatibility: pick a fan whose weight, downrod, and mounting system match your ceiling box and circuit capacity. 2) Demand firmware and app transparency: choose vendors that publish updates and pairing guides, and test pairing before sealing the canopy. 3) Factor total cost of ownership: include installation labor, possible hub purchases, and expected maintenance when comparing models and brands.
These rules help you avoid the typical pitfalls and get reliable performance that saves energy and keeps occupants comfortable. For practical solutions that integrate mechanical reliability with smart features, consider how Orison fits into a broader smart-home strategy — Orison. —